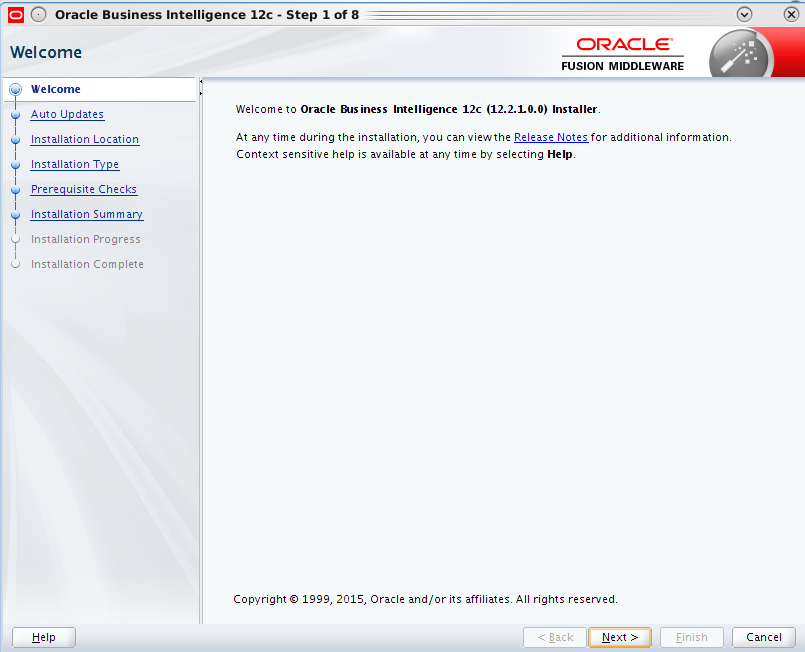
Oracle BI 12c has been released for some time now. There are a few changes in the way it is installed compared to the previous 11g releases. This post is about installing and configuring OBIEE 12c with detailed step-by-step instructions(Linux x86-64 in this case).
You can start with downloading the media from OTN :
-
Download and install JDK8(at least 1.8.0_40)
-
Download and install Weblogic Server
fmw_12.2.1.0.0_infrastructure_Disk1_1of1.zip
-
Download and install Oracle Business Intelligence 12c (12.2.1.0.0)
fmw_12.2.1.0.0_bi_linux64_Disk1_1of2.zip
fmw_12.2.1.0.0_bi_linux64_Disk1_2of2.zip
Now lets start with the steps above.
1. After JDK8 is installed export environment variables and add this to the profile if needed.
export JAVA_HOME=/usr/java/jdk1.8.0_65
export PATH=$JAVA_HOME/bin:$PATH
2. Download and install Oracle Business Intelligence 12c (12.2.1.0.0)
$ unzip -q fmw_12.2.1.0.0_infrastructure_Disk1_1of1.zip
$ $JAVA_HOME/bin/java -d64 -jar fmw_12.2.1.0.0_infrastructure.jar
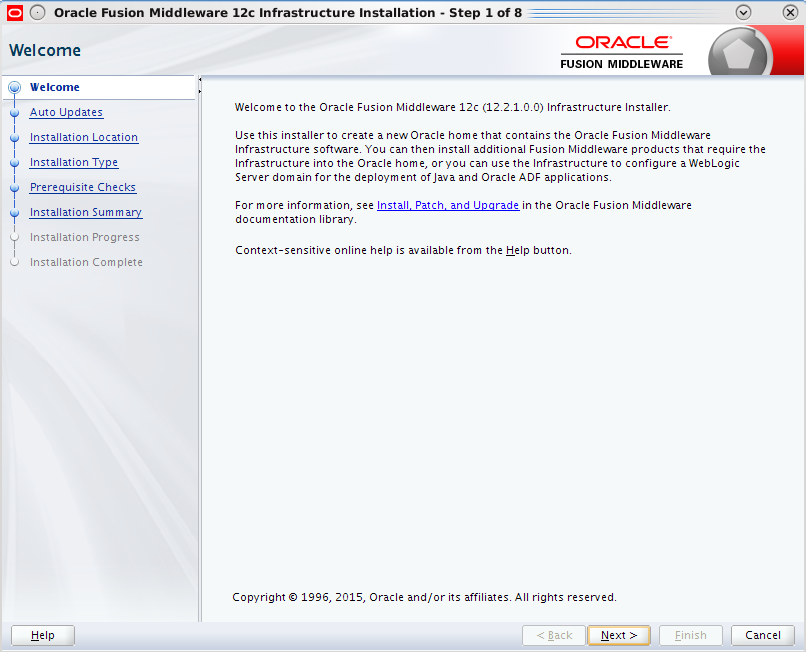
Click Next to continue and then choose ‘Skip Auto Updates’ and then click Next.

Choose the Fusion Middleware Home location for example /app/oracle/obiee12c

Choose Fusion Middleware Infrastructure with Examples in case you are keen on playing with them.

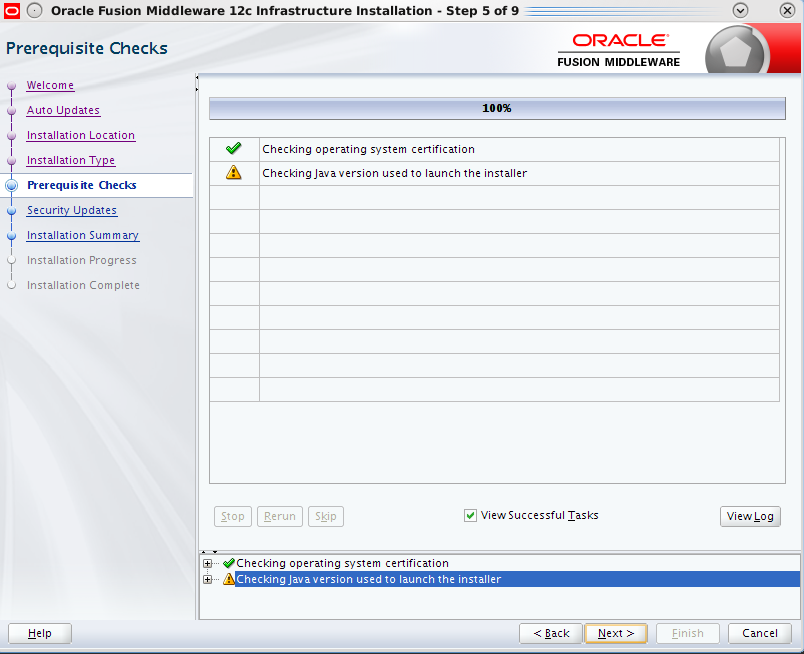
Click Next after all system configuration checks are successful.
Choose Next and continue to next screen.

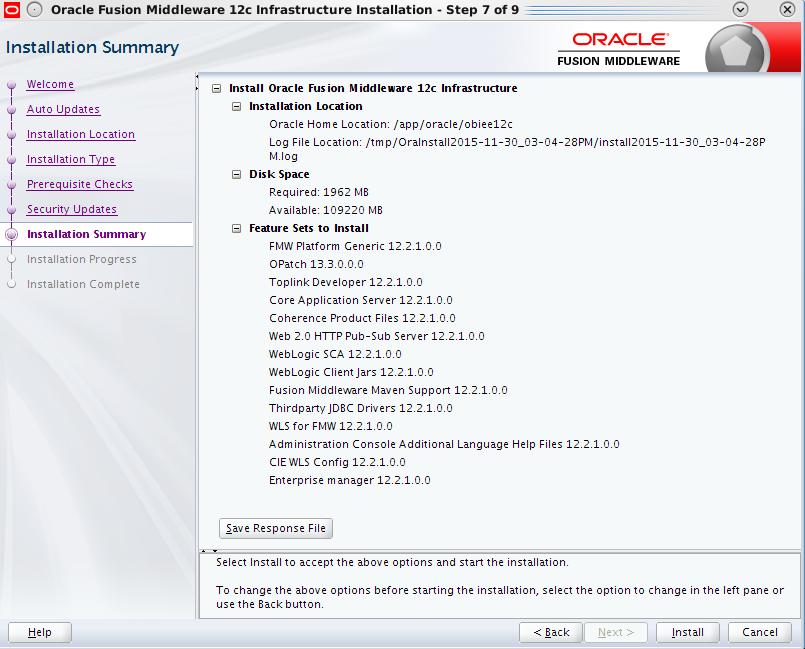
Choose Install to proceed with the installation.
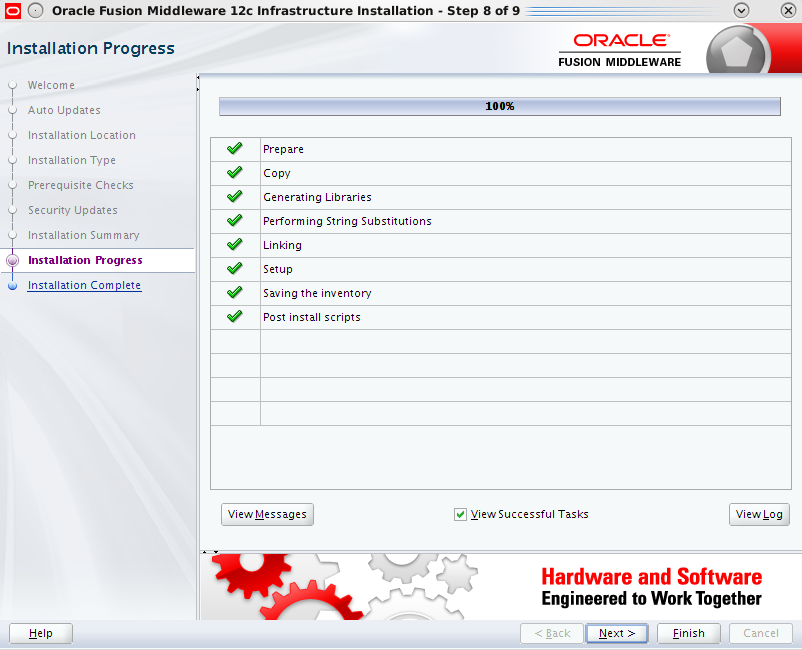
Click Finish to complete the installation.
Oracle Fusion Middleware Infrastructure 12c is now installed.
3. Install OBIEE
To begin with OPMN is no more used in Oracle Fusion Middleware and is deprecated in 12c. You can check more about OBIEE 12c New Features here.
Navigate to the directory where you downloaded the media and unzip the two files.
$ cd /home/oracle/obiee12c
$ unzip -q fmw_12.2.1.0.0_bi_linux64_Disk1_1of2.zip
$ unzip -q fmw_12.2.1.0.0_bi_linux64_Disk1_2of2.zip
$ ./bi_platform-12.2.1.0.0_linux64.bin
Choose Next
Again choose Skip Auto Updates and then click Next.

Specify the same Fusion Middleware home from the steps above.

Choose BI Platform with Samples in case you want to play with the Sample Apps.

When all system configuration checks are passed click Next.

Choose Install to proceed with the installation.

Choose Finish to complete the installation.

OBIEE 12c is now installed. Next part of this post will cover the repository creation.
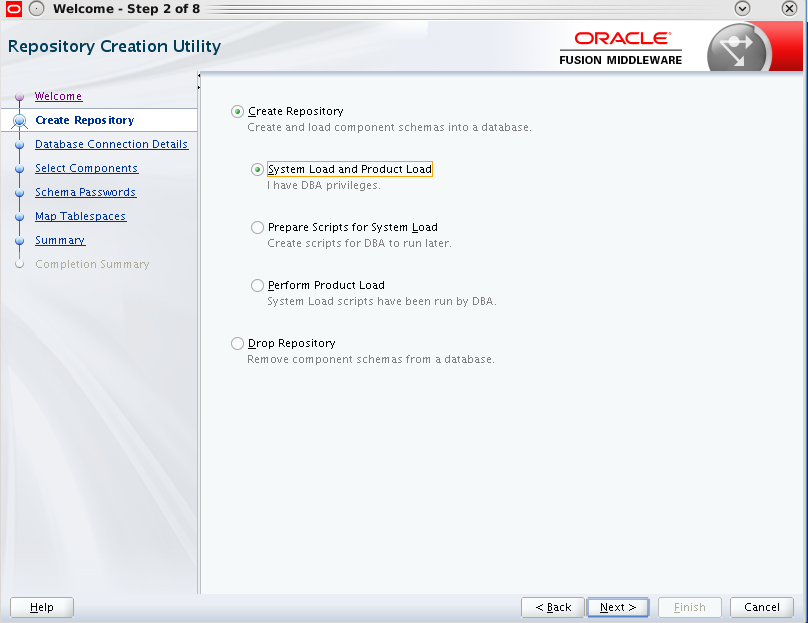
4. Repository creation
The RCU – Repository Creation Utility is no more a separate download as it used to be in the previous releases. It is now part of the software installation. You can start RCU as shown below:
$ cd /app/oracle/obiee12c/oracle_common/bin
$ ./rcu

Click Next and then choose Create Repository and then System Load and Product Load if you have DBA privileges.
Specify the Oracle database details. Note that Oracle Fusion Middleware 12c requires Oracle Database 11g R2(11.2.0.4) or higher. Bare in mind if you go with Oracle 12c you’d better use a container database as non-container architecture is deprecated in Oracle Database 12c, and may be desupported and unavailable in a release after Oracle Database 12cRelease 2. Oracle recommendation is to use the container architecture.

Click OK when prerequisite checks are completed and choose Next.

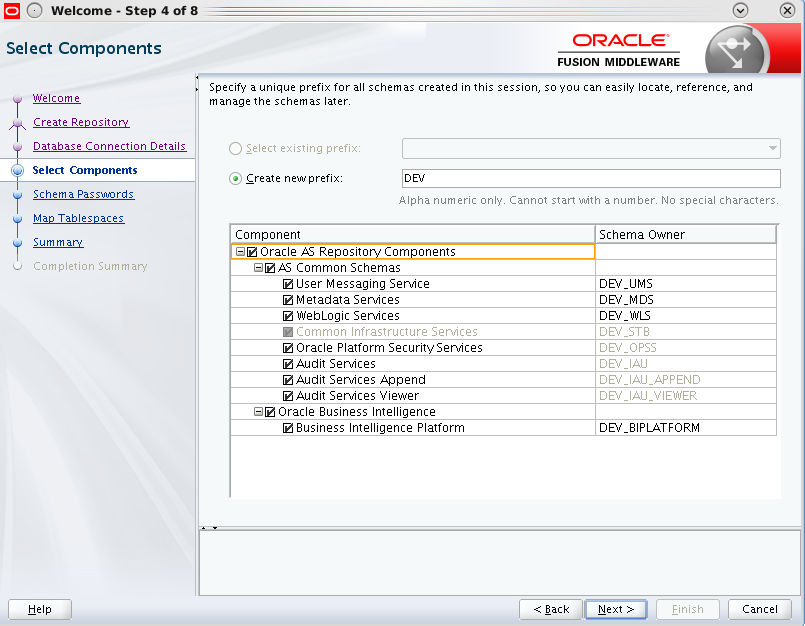
Choose the prefix for the schemas to be created, in this case the default DEV.
Click OK when prerequisite checks are completed and choose Next.

Provide password(s) for the schemas to be created.

Choose Next

Click OK

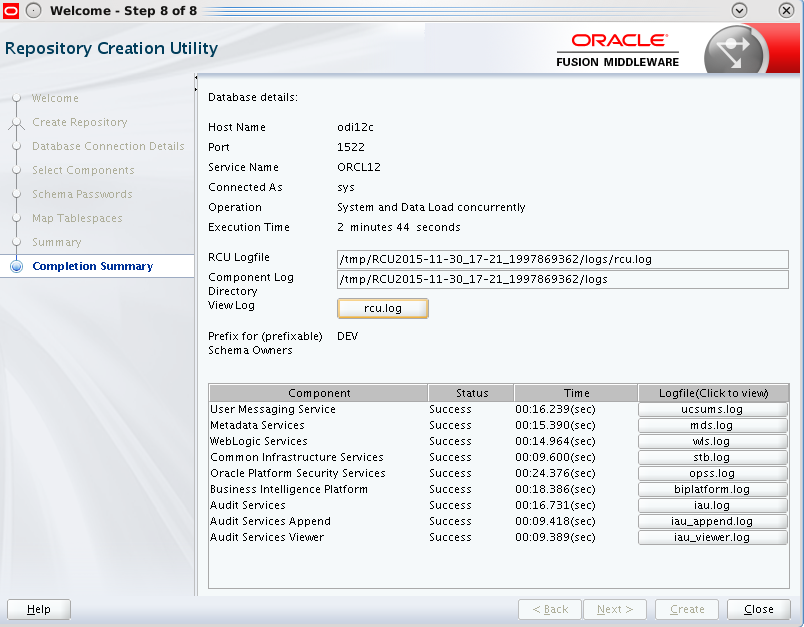
Click Create to confirm the schemas which will be created.

Click Close to exit from RCU. With this step the repositories creation is complete.
Next section will cover the configuration of OBIEE 12c.
5. Configure OBIEE 12c
Navigate to <OBIEE_HOME>/bi/bin and start the configuration utility script.
$ cd /app/oracle/obiee12c/bi/bin
$ ./config.sh
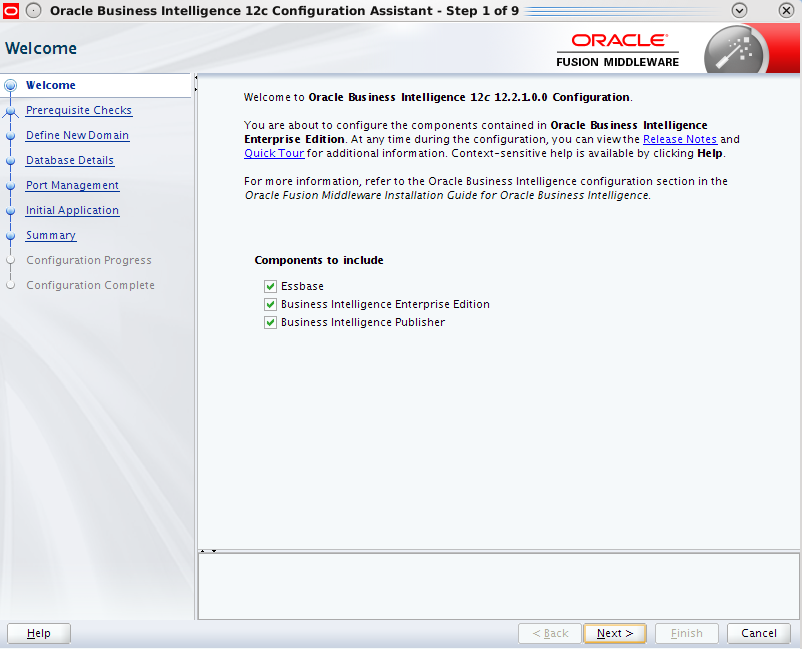
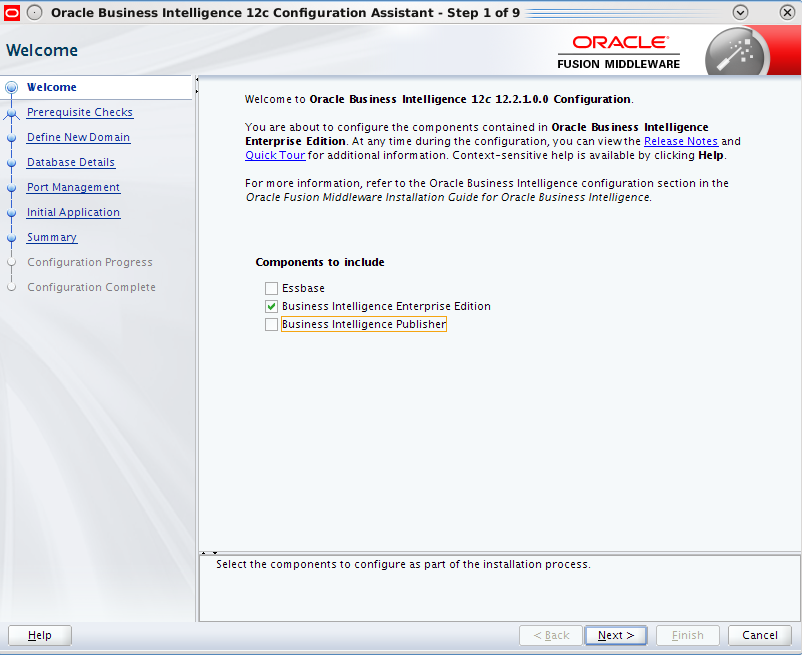
Select components to install in this case just Business Intelligence Enterprise Edition and then click Next.
Click Next when all system checks are completed.

Specify the details for the BI domain to be created.

The repositories schemas are created with the RCU so choose Use existing schemas to continue. You have the option to create the schemas at this step too if you haven’t done this yet.

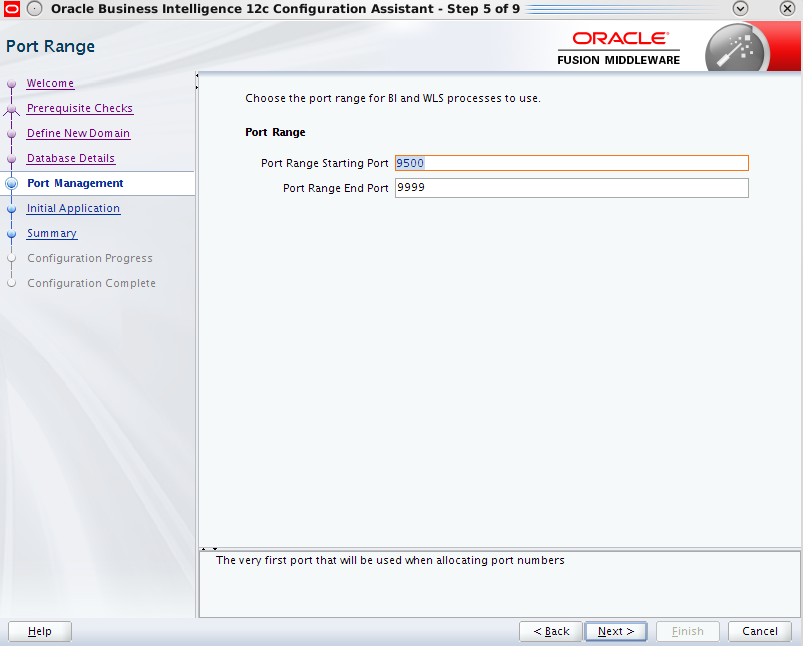
Specify the port numbers in this case default values.
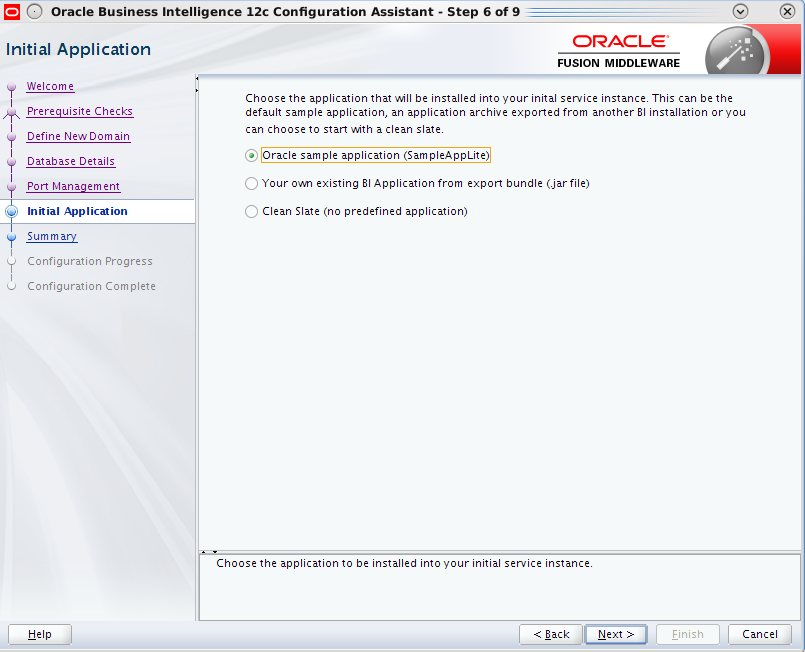
Choose SampleAppLite in case you need this.
On the next screen click Configure. This step will take a while to get the configuration completed

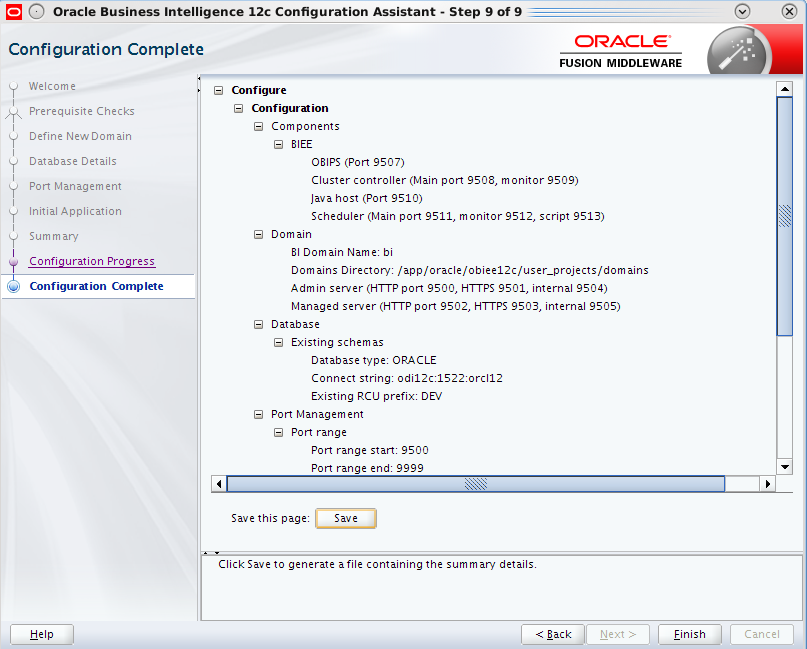
Click Next and you will get the configuration complete screen.

It is always useful to save the configuration install log file. Click Finish to complete the configuration.
Once this is done a browser window opens up automatically for you to login to OBIEE.


This post will end up with listing the basic commands to manage the services. The scripts for this are located in <OBIEE_HOME>/user_projects/domains/bi/bitools/bin
-
start.sh
-
status.sh
-
stop.sh
Hello OBIEE 12c world. Enjoy!

Our recent tech blog posts
Transformation is for everyone. We love sharing our thoughts, approaches, learning and research all gained from the work we do.
-

-

-

Reimagining case management across secure government
Read blog post -